Oracle WebADI:
Oracle Web Application Desktop Integrator (Web ADI) is Oracle E-Business Suite’s solution for integrating E-Business Suite applications with desktop applications such as Microsoft Excel, Word and Projects. “Integrators” encapsulate the metadata and other information needed to integrate a particular Oracle E-Business Suite task with a desktop application. You can use the Desktop Integration Framework (DIF) to create custom integrators for Oracle Web ADI in Oracle E-Business Suite Release 12.1.2. The ability to create custom importers was added in EBS 12.1.3
Prerequisites:
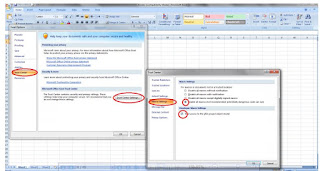
1. Setup Excel Sheet Options
- Go to File > Options > Trust Center
- Click the button ‘Trust Center Settings’
- In Macro Settings -> check radio button Enable all Macros
- Click the checkbox ‘Trust access to VBA project object model’
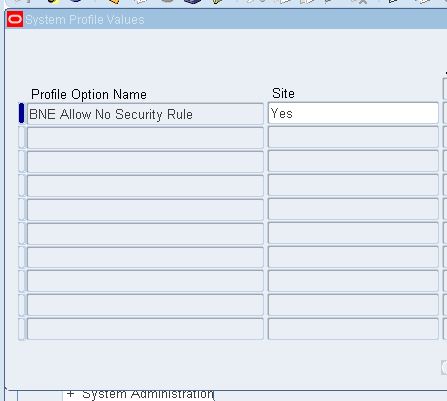
2. Set the profile option “BNE Allow No Security Rule” to yes as given in the below Screen shot
Integrators:
Integrator is a set of metadata that encapsulates all the information needed to integrate a particular Oracle E-Business Suite task with a desktop application.
By defining an integrator, you enable your users to do the following:
- Generate a formatted data template on the desktop containing application-specific fields for data entry.
- Enter or modify the data in the desktop application with the same kind of validation rules that existed in the EBS application.
- Upload data from the desktop document to feed the data to Staging Tables, Interface tables or directly to base tables.
- Verify the results of the upload process and correct any errors or data issues immediately.
Setups:
1. Define Custom Package for uploading invoices into our custom Table
Create Custom Table:
AP_CUSTOM_INV_INTERFACE
create or replace package WebADI_INVOICE_UPLOAD_PKG is
PROCEDURE ap_upload_proc (
p_invoice_num VARCHAR2,
p_invoice_date DATE,
p_vendor_num VARCHAR2,
p_vendor_site_code VARCHAR2,
p_invoice_amount NUMBER,
p_invoice_currency_code VARCHAR2,
p_description VARCHAR2,
p_line_type_lookup_code VARCHAR2,
p_line_number NUMBER,
p_segment1 VARCHAR2,
p_segment2 VARCHAR2,
p_segment3 VARCHAR2,
p_segment4 VARCHAR2,
p_segment5 VARCHAR2,
p_segment6 VARCHAR2,
p_segment7 VARCHAR2,
p_terms_name VARCHAR2,
p_tax_code VARCHAR2);
end WebADI_INVOICE_UPLOAD_PKG;
create or replace package body WebADI_INVOICE_UPLOAD_PKG is
PROCEDURE ap_upload_proc(
p_invoice_num VARCHAR2,
p_invoice_date DATE,
p_vendor_num VARCHAR2,
p_vendor_site_code VARCHAR2,
p_invoice_amount NUMBER,
p_invoice_currency_code VARCHAR2,
p_description VARCHAR2,
p_line_type_lookup_code VARCHAR2,
p_line_number NUMBER,
p_segment1 VARCHAR2,
p_segment2 VARCHAR2,
p_segment3 VARCHAR2,
p_segment4 VARCHAR2,
p_segment5 VARCHAR2,
p_segment6 VARCHAR2,
p_segment7 VARCHAR2,
p_terms_name VARCHAR2,
p_tax_code VARCHAR2)
AS
BEGIN
INSERT into apps.AP_CUSTOM_INV_INTERFACE
(invoice_num, invoice_date, vendor_num, vendor_site_code, invoice_amount, invoice_currency_code, description, line_type_lookup_code,
line_number, segment1, segment2, segment3, segment4, segment5, segment6, segment7, terms_name, tax_code,
created_by, creation_date)
VALUES
(p_invoice_num, p_invoice_date, p_vendor_num, p_vendor_site_code, round(p_invoice_amount,2), p_invoice_currency_code, p_description, p_line_type_lookup_code,
p_line_number, p_segment1, p_segment2, p_segment3, p_segment4, p_segment5, p_segment6, p_segment7, p_terms_name, p_tax_code,
FND_GLOBAL.USER_ID, sysdate);
EXCEPTION
WHEN OTHERS THEN
raise_application_error(-20001, ‘Error : ‘ || SQLERRM);
END ap_upload_proc;
end WebADI_INVOICE_UPLOAD_PKG;
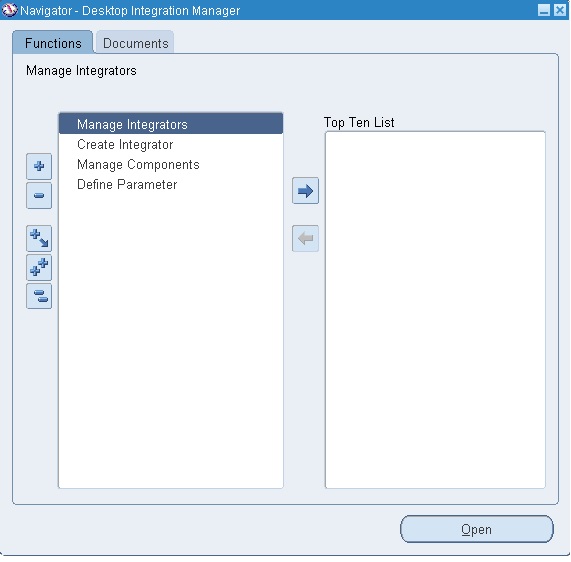
2. Create Custom Integrator
Navigation: Desktop Integration Manager >> Create Intergrator
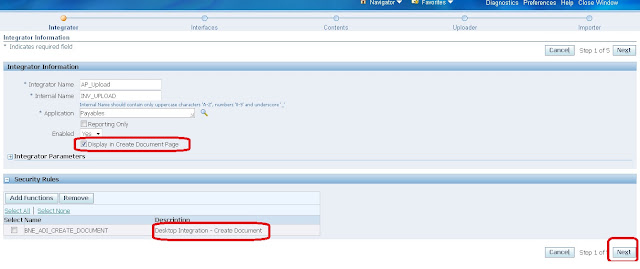
Enter the following information
Integrator Name: Enter your Integrator name
Internal Name: Enter Internal name
Application: Payables
Enable Display in Create Document Page
Add function
As “BNE_ADI_CREATE_DOCUMENT” this is very important.
If you are not taken this the custom integrator will not visible in Oracle webADI uploading
Click On Next button
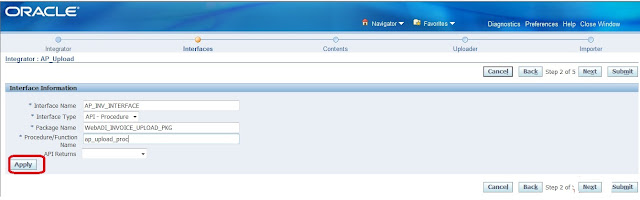
Interface Name: Enter the Interface Name
Interface Type: API – Procedure
Package Name: Give the Package name created in 1st step
Procedure/Function: Give the process name created in 1st step
Click on Apply button
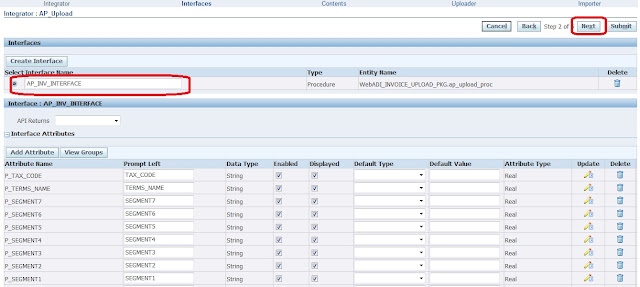
Once you select AP_INV_INTERFACE all the columns automatically appear showing in the below screen shot .
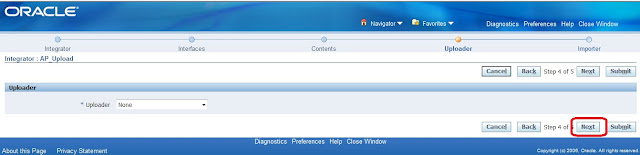
Click on Next button
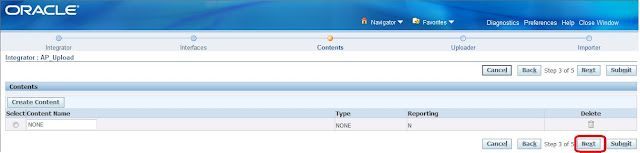
Click on Next button
Click on Next button
Click on Submit button
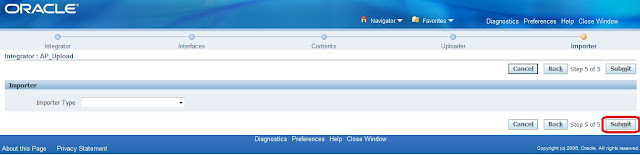
Once we submit immediatly we will get confirmation message
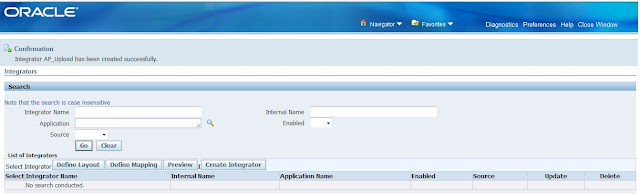
3. Define Layout
Navigation: Desktop Integration Manager >> Manage Integrator >> Define Layout

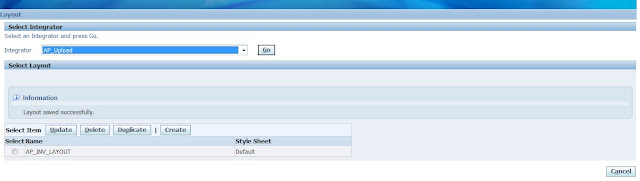
Select Custom integrator created in 2nd step and click on GO button

Click on Create button
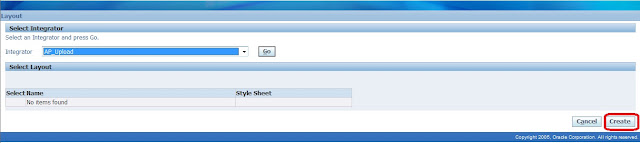
Layout Name: Enter the Layout Name
Number of Headers: 1
Click on Next button

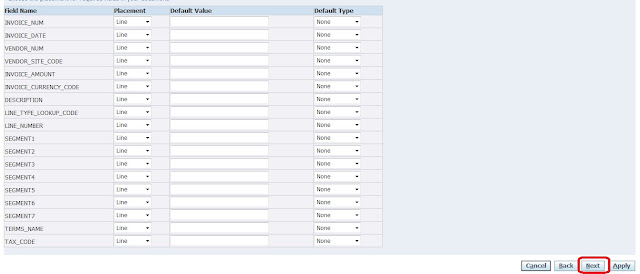
Change Placement to Line to all the columns showing in the below screen shoot and click on
Next button
Enter the Data entry rows
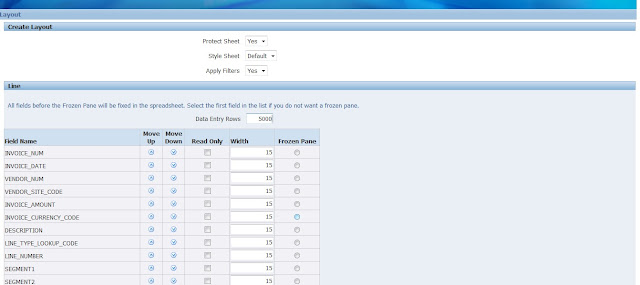
Click on Apply button.
4. Define Custom validation program
a. Create custom package with the following validation
- Check the length of vendor number
- Check if any null vendor number is given
- Check Whether given Vendor and Vendor Site Code matches
- Check for ‘LINE_TYPE_LOOKUP_CODE’
- Check for existance of AP invoices
- Check whether the given invoice date is with in the current given month
- Check whether the given invoice date is null
- Check for ‘TAX_CODE’
- Check for Invoice Currency code
- Check for invalid Code combinations
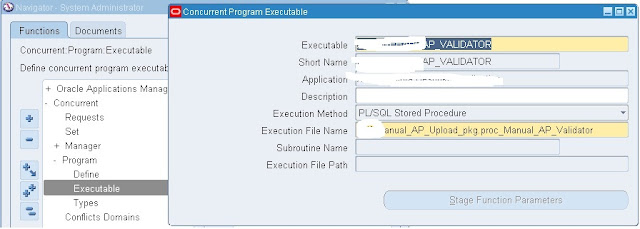
b. Define Executable:
Navigation: System Administrator >> Concurrent >> Program >> Executable
Enter the following information
Executable: Give Executable name
Short Name: Short name
Application: Give application Name
Execution Method: PL/SQL Stored Procedure
Execution File Name: Enter pkg name and procedure name
Save your work.
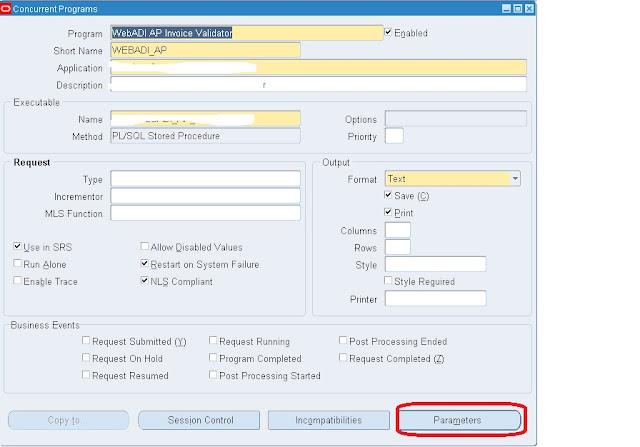
c. Define Program:
Navigation: System Administrator >> Concurrent >> Program >>Define
Enter the following information
Program Name: Enter the program name
Shot Name: Give short name
Application: Application Name
Executable Name: Give Executable name
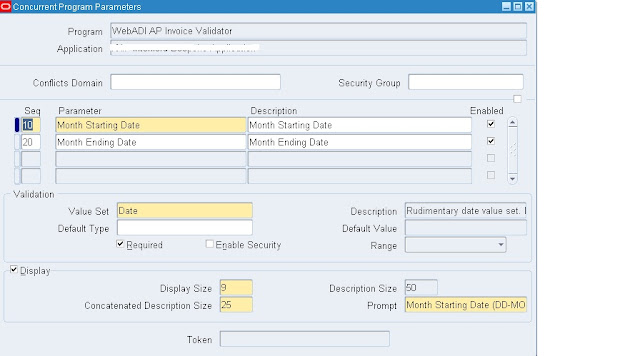
Click on Parameters
Parameters:
Month Starting Date:
Month Ending Date:
Save your work.
d. Assign this program to request group
5. Upload the invoice
Navigation: Oracle Web ADI >> Create Document
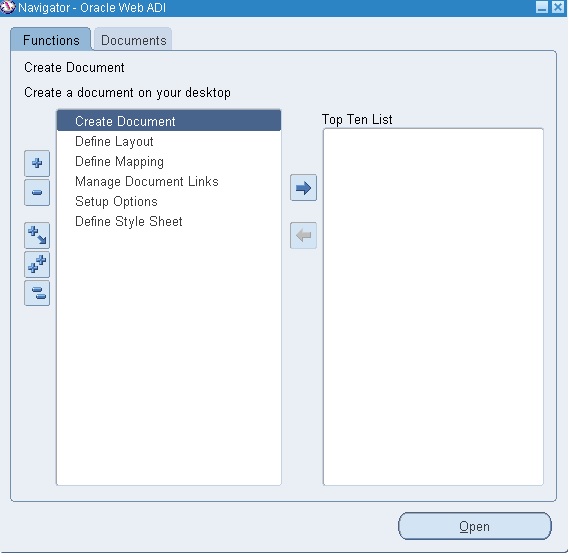
Select our custom integrator and click on Next button

take your excel version and click on next button

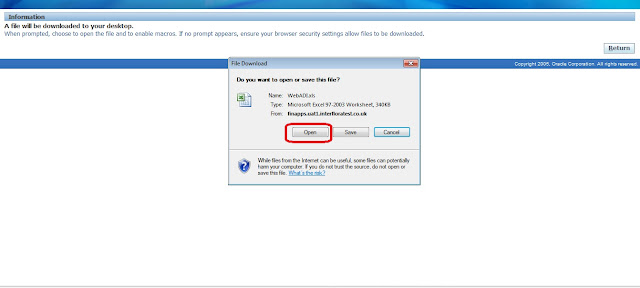
Click on Crate Document
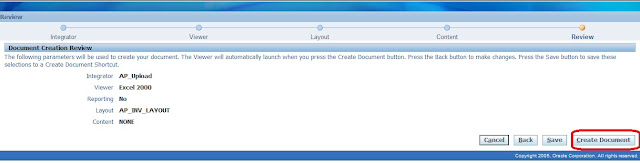
Click on Open
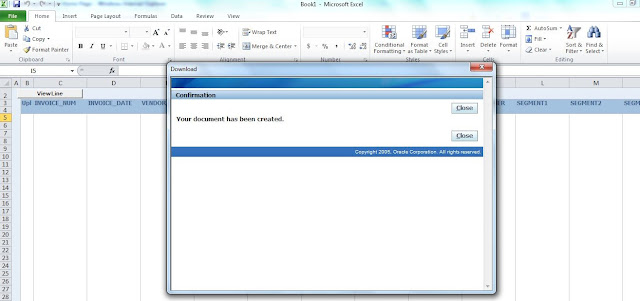
Now document is created click on Close button
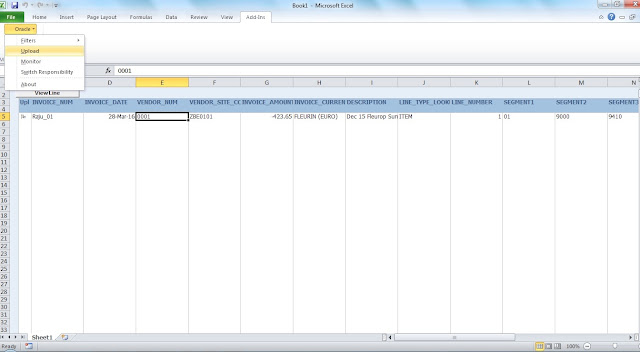
Enter the information and then Click on Add Ins
Select oracle and then click on Upload
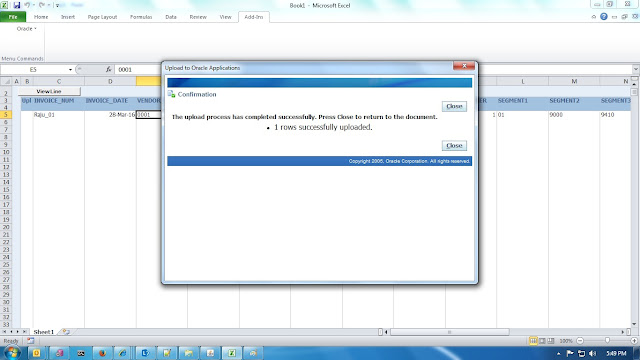
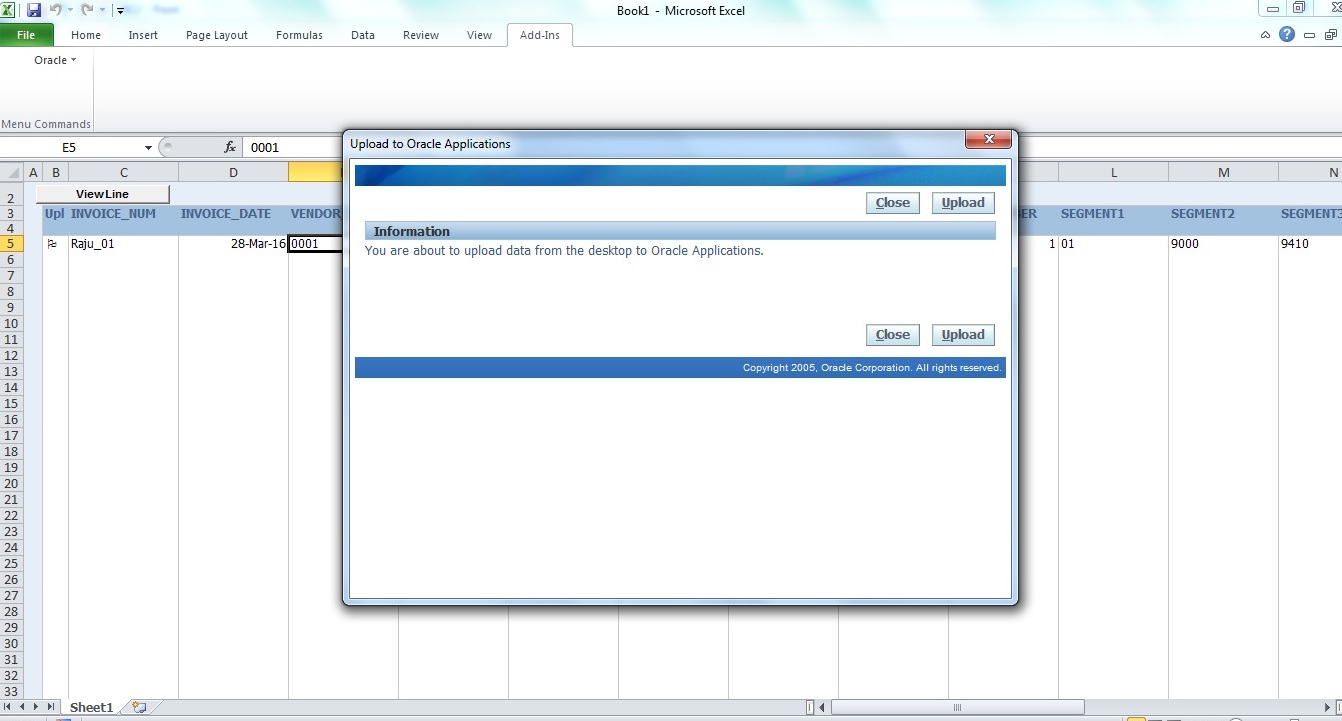
Click on Upload
Now we will get below confirmation messag